Start here · First-time setup
Start here
First-time setup
A fifteen-minute checklist that takes a fresh install to a working, activated, tested bay.
Follow these steps in order on the bay PC right after installing SimLock. Everything happens in SimLock Admin. If you already have a bay set up the way you like, you can skip most of this: export its settings on the Backup page and import them here, then do steps 2, 3 and 6.
1. Log in to SimLock Admin
The installer opens the Admin panel for you. Later, open it from the SimLock Admin desktop shortcut, the Start Menu, or by double-clicking the shield icon in the system tray (the tray asks for the admin password first).
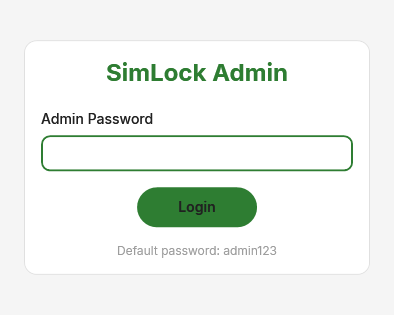 The login window. On a new install the hint under the button gives the default password.
Type the admin password and click Login (or press Enter). The default on a new install is admin123. A wrong password shows "Incorrect password" and clears the field.
The panel opens on the Dashboard. The header shows "Version X.Y.Z" so you can confirm which build is installed.
2. Activate your licence
Until the bay is activated, the lock screen shows "Activation Required" instead of its normal screens.
- On the Dashboard, find the LICENSE card. The status reads Not Activated.
- Type the email address you bought SimLock with into License email.
- Click Check License. The button reads "Checking..." while it contacts simlock.golf.
- The status turns green and reads Activated, your email appears with Verify and Deactivate buttons, and a line such as "Verified Oct 1, 2:41 PM · valid to Oct 8" shows the bay holds a current licence token.
A red message instead means a typo in the email, no internet connection, or no activations left on that licence. See Licensing & activation.
3. Change the admin password and unlock code
Click Security in the sidebar (under Look & Security).
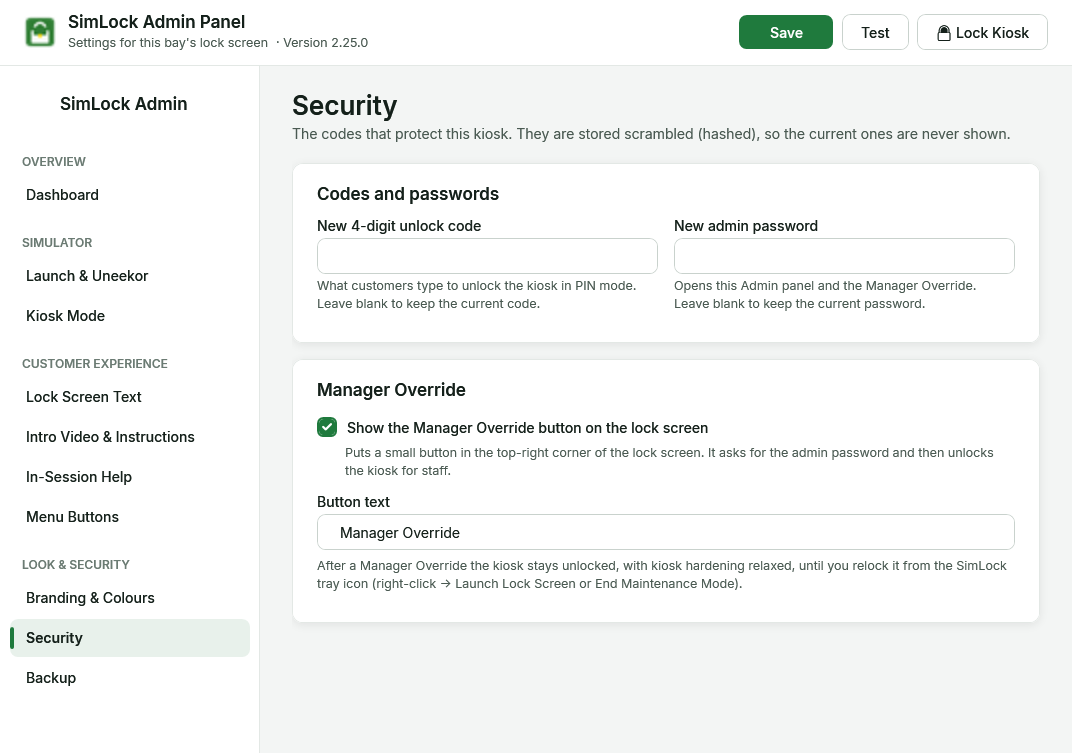 The Security page. The current codes are never shown; type new ones to replace them.
- New 4-digit unlock code — what golfers type on the lock screen in PIN mode. The default is
1234. It must be exactly four digits. - New admin password — opens this panel, the tray menu and the Manager Override on the lock screen. Change it from
admin123.
Leave a box blank to keep the current value. See Security.
Write the new admin password down
The admin password is the only way back in. It is stored as a hash, so nobody — including support — can read it back. If you lose it, support has to reset it.
4. Pick an operating mode
Click Kiosk Mode in the sidebar and choose one:
- PIN mode (Process Monitor) — the lock screen appears when your simulator software starts. This is the default.
- Reservation Mode (Google Calendar) — the lock screen follows bookings on this bay's Google Calendar.
The sidebar changes to match. PIN mode shows Menu Buttons; Reservation Mode shows Google Calendar and Customers instead. If you are not sure, start with PIN mode. See Kiosk Mode.
5. Finish the mode's own setup
PIN mode: still on Kiosk Mode, under Monitored software, set Program name (without .exe) to the program that should trigger the lock screen (default gspro). Click Select Software to pick from programs running right now, or GSPRO Launcher under Quick select. Start your simulator software first so it is in the list.
Reservation Mode:
- Click Save, then open Google Calendar. Click Connect Google Account, sign in, and choose This bay's calendar. Tick the other bays' calendars underneath so returning golfers are recognised across bays. Click Save. See Google Calendar.
- Open Launch & Uneekor and choose what starts when a golfer taps Start: Nothing, the Uneekor GSPro tile, GSPro only, or Uneekor VIEW + GSPro. For the Uneekor options click Test Connection, and Configure Launcher… if it fails. See Launch & Uneekor.
6. Add your branding and intro video
Optional now, easy to change later.
- Branding & Colours — drop your logo into the Logo box; in PIN mode, set the splash title and subtitle. See Branding & Colours.
- Intro Video & Instructions — paste a YouTube link and click Download Video from Link, or browse to a video file. New golfers watch it before they play. See Intro Video & Instructions.
- In-Session Help — optionally turn on the help button golfers can tap during play, and enter the phone number they should call. See In-Session Help.
7. Save
Click Save in the header. The button flashes "Saved!" for a moment. Save refuses with a warning if the unlock code is not exactly four digits.
Settings apply live
The Monitor and a running lock screen both watch config.json. Most changes, including colours, text and button visibility, show up on the lock screen within a second of clicking Save.
8. Test the lock screen
Click Test in the header. This starts the real lock screen, full-screen and on top of everything.
In PIN mode you see the splash screen. Touch anywhere, tap Returning Golfer, and enter the unlock code from step 3. The lock screen closes, exactly as it will for a golfer.
In Reservation Mode you see the idle screen, and the Monitor keeps it running because no booking is active. To get back to the desktop, tap Manager Override in the top-right corner and enter the admin password. When you are done, click Lock Kiosk in the Admin header (or right-click the tray icon and choose Launch Lock Screen) to relock the bay. A real test of the launch: put a short booking on this bay's calendar, wait for the welcome screen, and tap Tap to start with the launch monitor switched on.
9. Confirm the Monitor is running
Look for the shield icon in the system tray; hovering shows "SimLock Monitor — Version X.Y.Z". If it is missing, start SimLock Monitor from the Start Menu. With Start SimLock Monitor with Windows checked during install, it returns after every reboot.
Unattended bays
Set the PC's BIOS to Restore on AC Power Loss = Power On (the exact name varies by maker). A bay that stays off after a power cut misses every booking until someone presses the power button.